
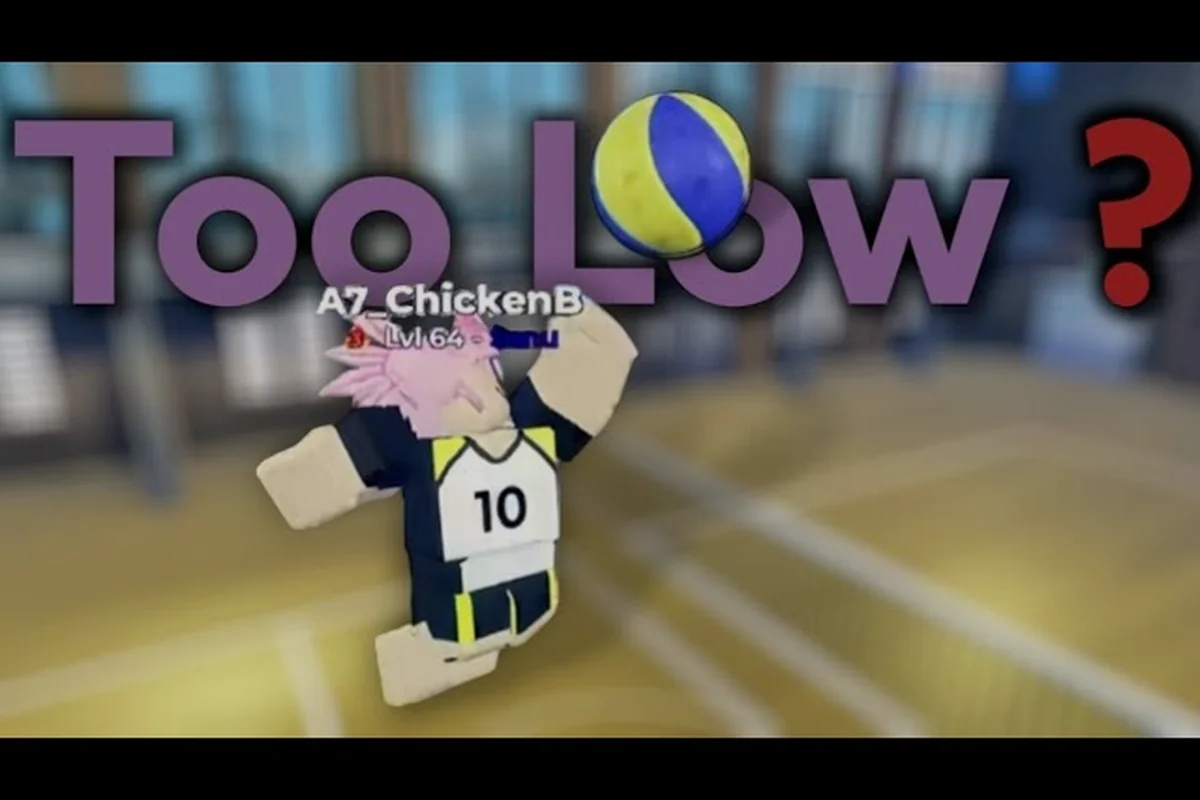
Low spikes are one of the most frustrating beginner mistakes in Volleyball Legends, but the fix is usually simpler than players expect. Most new players think they need better styles or more spins to hit harder, yet the real issue is almost always timing and positioning. This guide breaks down exactly how to use volleyball legends solo practice to correct your approach, build muscle memory, and enter your first match with a reliable spike that clears the net consistently.
Why Low Spikes Happen in Volleyball Legends
Before you can fix a low spike, you need to understand what causes it. Community testing consistently points to three core problems: jumping too early, approaching from the wrong angle, and releasing the spike input before your character reaches peak height. These issues compound each other, which is why a player who fixes only one still sees inconsistent results.
The game's spike mechanic rewards a specific rhythm. When you press jump, your character has a short wind-up before leaving the ground. If you press the spike button during that wind-up, the game registers the hit at a lower point than you intended. Players who come from faster-paced Roblox games often struggle here because they expect instant input response, but Volleyball Legends intentionally adds a slight delay to make timing matter.
| Mistake | What Happens | Result |
|---|---|---|
| Jumping too early | Spike input registers during jump wind-up | Ball hits net or travels flat |
| Approaching from behind the ball | Character reaches for the ball at waist height | Low, weak spike |
| Spamming the spike button | Multiple inputs confuse the hit detection | Inconsistent contact point |
| Ignoring approach speed | No momentum transferred into the hit | Ball floats instead of driving down |
Community reports suggest that roughly 70% of low spikes come from the first two mistakes alone — jumping too early and approaching from behind the ball. The good news is that both are completely fixable through focused solo practice, without needing any rare styles or expensive spins. In the game's training mode, you can isolate the jump wind-up by watching your character's feet leave the ground before pressing the spike button, which directly counters the delayed input response that trips up players coming from faster-paced Roblox titles. Similarly, practicing your approach from a 45-degree angle instead of straight-on gives your character enough forward momentum to meet the ball at peak height rather than reaching at waist level.
Setting Up an Effective Solo Practice Routine
Volleyball legends solo practice works best when you treat it like a real training session rather than just messing around. The game gives you a court to yourself, which means you can repeat the same approach dozens of times without waiting for a teammate to set the ball. That repetition is exactly what builds the timing you need.
Start by entering a custom match or practice mode where you control the ball placement. Position yourself at the ten-foot line, toss the ball straight up, and focus only on the jump timing. Do not worry about where the ball lands at first. Your goal is to feel the rhythm of the jump wind-up, which takes about half a second before your character leaves the ground.
Building the Three-Step Approach
The most reliable spike approach in Volleyball Legends uses three steps: slow, fast, explode. Your first step is a small positioning step, your second step builds momentum, and your third step converts that momentum into a vertical jump. Players who skip the second step lose the forward energy that translates into a higher contact point.
Practice this sequence without the ball first. Count it out loud if that helps: one, two, jump. After ten clean repetitions, add the ball toss. The toss should go slightly in front of your hitting shoulder, not directly above your head, because a forward toss lets you swing through the ball instead of reaching backward for it.
Using the Right Camera Angle
Camera positioning matters more than most players realize. If your camera is too low, you cannot judge the ball's height accurately, which leads to mistimed jumps. Set your camera slightly above court level and behind your character. This angle lets you see both the ball and the net at the same time, which is essential for judging whether your spike clears.
Correcting Timing Through Repetition Drills
Once you understand the mechanics, the real work begins. Volleyball legends solo practice is most effective when you run structured drills that isolate one skill at a time. Trying to fix everything at once usually means fixing nothing, because your brain cannot process that many adjustments simultaneously.
The first drill focuses purely on jump timing. Toss the ball, jump, and do not swing. Watch where your character's hand would contact the ball at peak jump height. If that contact point is below the top of the net, you jumped too early. Repeat until you consistently reach a contact point at least a foot above the net tape.
The Peak Contact Drill
This drill teaches you to recognize your character's highest reach point. Stand at the net without the ball and jump straight up. Note the highest point your character's hand reaches. Now toss the ball and try to time your jump so the ball is at that exact height when your character reaches it. This takes practice because the ball falls at a consistent speed, but your brain needs to learn that speed through repetition.
| Drill | Focus | Reps Per Session | Success Signal |
|---|---|---|---|
| Jump timing without swing | Isolate jump wind-up | 20 | Contact point above net tape |
| Peak contact recognition | Match jump to ball height | 25 | Ball meets hand at max reach |
| Full approach with toss | Combine steps and jump | 30 | Clean spike with downward angle |
| Cross-court targeting | Add directional control | 20 | Ball lands in target zone |
Run these drills in order, and do not move to the next one until you can complete the current drill successfully at least 80% of the time. This progression builds the foundation before adding complexity, which prevents bad habits from forming.
Common Beginner Mistakes That Sabotage Your Spike
Low spikes are not the only beginner mistakes that hold players back. Several related issues compound the problem, and fixing them together accelerates your improvement. The most damaging habit is watching your own character instead of the ball. Your character's position is predictable; the ball's trajectory is what you need to track.
Another frequent issue is standing too close to the net. When you start your approach from directly under the ball, you have no room to generate forward momentum. That momentum is what drives the ball downward after contact. Without it, your spike floats long or clips the net.
Ignoring the Setter's Position
Even in solo practice, you should simulate realistic scenarios. In a real match, the setter places the ball somewhere specific, and you need to adjust your approach based on that placement. Practice tossing the ball to different spots—tight to the net, off the net, high, low—and adjusting your footwork accordingly. Players who only practice one toss location struggle in matches because they never learned to adapt.
The match flow guide covers how rally structure changes your positioning, but the core principle is simple: your approach must adapt to the set, not the other way around. When you practice solo, your toss becomes the setter—if you toss tight to the net but still take a full three-step approach, you'll jump into the net before you even swing. The same applies to off-net tosses: a short two-step gather with a broader final plant keeps your hitting window open instead of forcing an awkward reach. In Volleyball Legends, your approach timing also shifts your contact point height, so a late adjustment on a low set means you either tip into the block or miss the timing window entirely.
How to Get Better Through Deliberate Practice
Improvement in Volleyball Legends does not come from playing more matches. It comes from practicing the right things in the right way. Deliberate practice means setting a specific goal for each session, measuring your results, and adjusting based on what you observe. Random practice, where you just hit balls without paying attention, wastes time and reinforces bad habits.
A useful framework is the five-minute block. Spend five minutes on jump timing, five minutes on approach footwork, five minutes on full spikes, and five minutes on reviewing what worked. This structure keeps you focused and prevents the mental fatigue that leads to sloppy reps.
Tracking Your Progress
Keep a simple log of your practice sessions. Note how many clean spikes you hit out of twenty attempts, what mistakes appeared most often, and what you plan to focus on next session. This data helps you see improvement over time, which keeps motivation high even when progress feels slow.
| Practice Block | Duration | Focus | Common Adjustment |
|---|---|---|---|
| Jump timing | 5 min | Wind-up rhythm | Delay jump slightly |
| Approach footwork | 5 min | Three-step sequence | Widen second step |
| Full spike reps | 5 min | Complete motion | Track ball longer |
| Review and reset | 5 min | Identify patterns | Pick one fix for next block |
Players who track their practice consistently report faster improvement than those who do not, according to community data. The act of writing down what happened forces you to notice patterns you would otherwise miss. For example, if your log shows you landed only 6 of 20 clean spikes during the first block but 12 of 20 by the third, you have concrete proof that the "delay jump slightly" adjustment from the jump timing drill is working — and a reason to keep it in your routine instead of abandoning it after one rough session. Conversely, when the same mistake (say, mistiming your three-step approach footwork) appears across three consecutive entries, that repetition signals it is a habit worth isolating in your next five-minute review and reset block. This feedback loop turns a simple notebook into a diagnostic tool: you stop guessing at what needs fixing and start drilling the one specific flaw your own data has already identified.
Volleyball Legends Skills Explained: What Actually Matters
Understanding which skills matter helps you prioritize your practice time. Volleyball Legends has several mechanics that affect your spike, but some are far more important than others. The core skills are approach timing, contact point recognition, and directional control. Secondary skills include serve receive positioning and defensive reads.
Your style choice also matters, though less than most players think. Certain style actives boost your jump height or spike power, which can compensate for minor timing errors. However, no style fixes a fundamentally broken approach. If you are relying on a rare style to fix your low spike, you are masking the problem rather than solving it.
How Styles Interact With Your Spike
The style actives guide explains the specific bonuses each style provides. For spike-focused players, look for styles that increase jump height or contact power. These bonuses stack with good timing, but they cannot replace it. A player with perfect timing and a common style will consistently out-spike a player with a rare style and poor timing.
Building Skills in the Right Order
Start with approach timing, then contact point recognition, then directional control. Each skill builds on the previous one. Trying to learn directional control before you can consistently contact the ball at peak height is like trying to aim a shot before you can consistently hit the target. The foundation must come first.
Preparing for Your First Match
After several solo practice sessions, you should feel ready to test your skills in a real match. Your first match will feel different from practice because you have opponents moving, a setter placing balls unpredictably, and the pressure of scoring points. Expect your timing to be slightly off at first, and do not get discouraged when your first few spikes are not perfect.
The key is to focus on the process rather than the outcome. If you execute your three-step approach, track the ball, and time your jump correctly, the result will take care of itself. Players who obsess over whether each spike scores usually tense up and revert to bad habits.
First Match Tips That Actually Help
Before your first match, warm up with five minutes of solo practice to lock in your timing. During the match, call for sets you are comfortable with rather than trying to spike every ball. And after the match, review what happened: which spikes felt good, which felt off, and what you want to work on next session.
The beginner guide covers the fundamentals of positioning and rotation, which complement the spike skills you have been building. If your solo practice has focused heavily on timing your jump and swing, spend part of your next session shadow-rotating between front-row and back-row positions so the transition feels automatic rather than something you think about mid-rally. Together, these resources give you a complete foundation for your first matches, helping you avoid common volleyball legends beginner mistakes like drifting out of position after a missed spike or forgetting to reset to base before the opponent's setter touches the ball.
Frequently Asked Questions
How long should I practice solo before my first match?
Most players benefit from three to five focused solo practice sessions before jumping into a real match. Each session should last about twenty minutes and follow a structured drill progression. This builds enough muscle memory to execute a basic spike without overthinking every input.
Can I fix a low spike without changing my style?
Yes, absolutely. Low spikes are almost always a timing issue, not a style issue. Focus on delaying your jump slightly and tracking the ball longer. These adjustments fix the problem for most players without spending any spins or changing your equipped style.
What is the best drill for improving spike timing?
The peak contact drill is the most effective for timing. Toss the ball, jump without swinging, and observe where your hand meets the ball at maximum height. Repeat until that contact point is consistently above the net tape, then add the full swing.
Why do my spikes go into the net even when I time the jump correctly?
Net spikes usually mean you are contacting the ball too far in front of your body. Adjust your toss to be slightly less forward, or take a smaller final step. This brings the contact point back over your hitting shoulder, which creates a cleaner downward angle.
Does solo practice transfer to real matches?
Yes, but expect an adjustment period. Real matches add movement, pressure, and unpredictable sets, which affect your timing. In solo drills, you control the toss height, spin, and placement every time; in a live match, those variables shift constantly as defenders reposition and setters adjust mid-rally. The foundation you build in solo practice—especially the peak contact drill and delayed-jump timing—makes that adjustment much faster than learning everything in live matches from scratch, because your body already knows the correct contact point and only needs to recalibrate for the new ball flight.